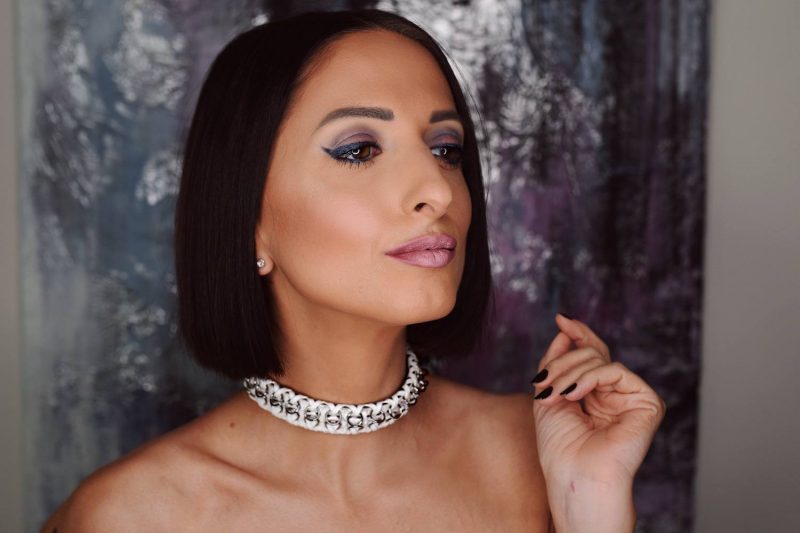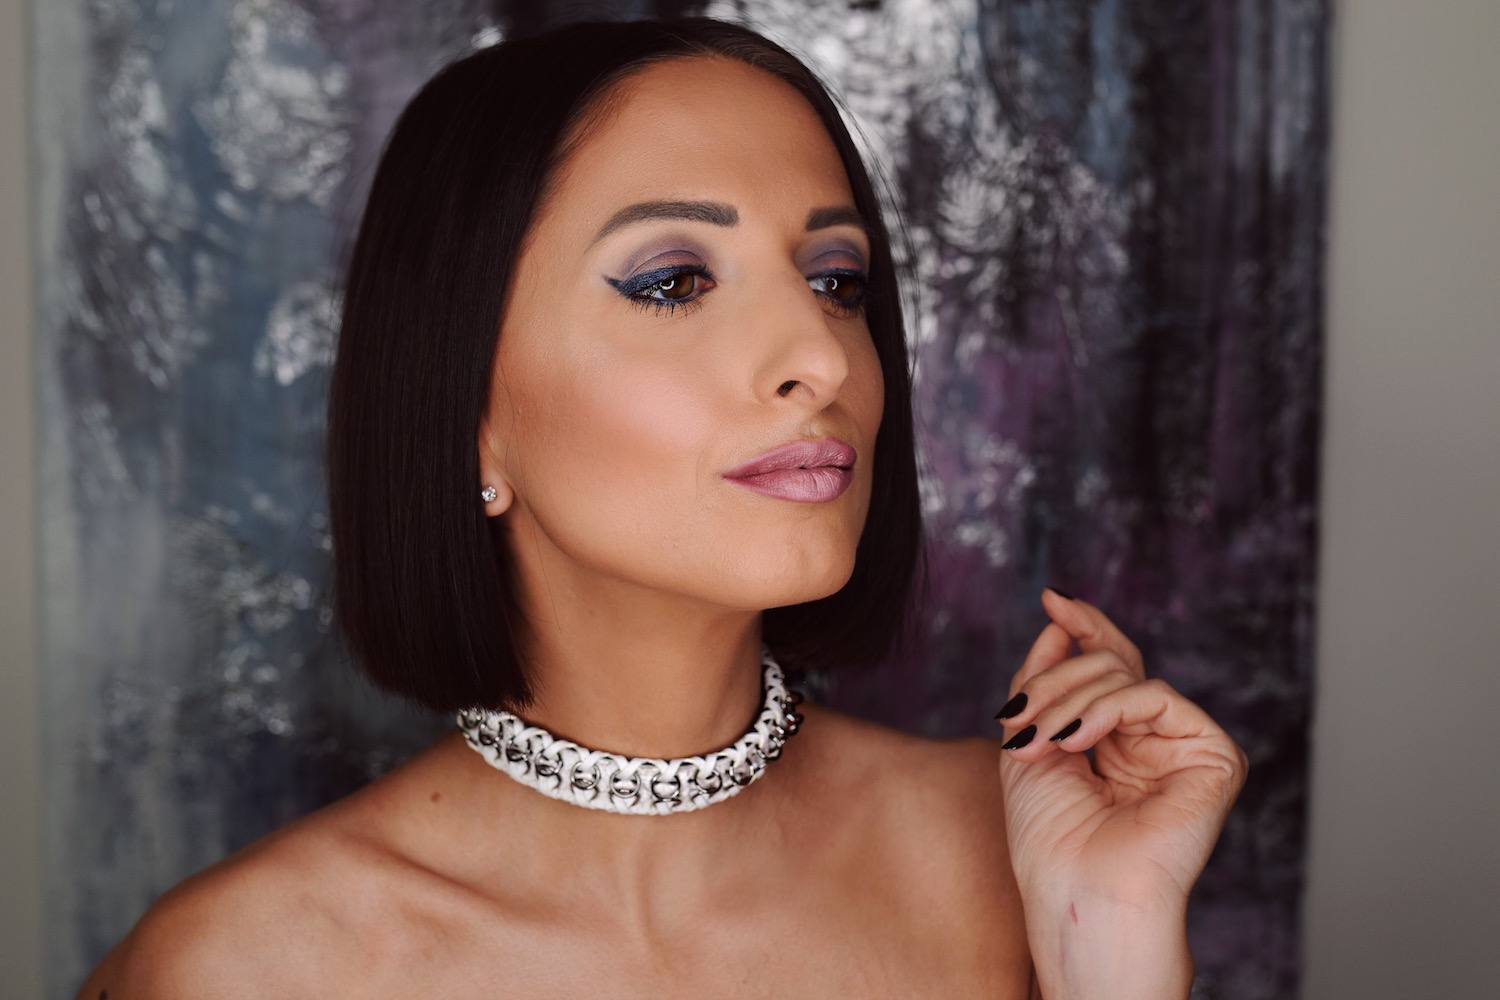
YAAAAS! Boy was I ever jazzed when I got the new Kat Von D Pastel Goth Eyeshadow palette $51 CAD available at Sephora. At first it can be a bit daunting to think about putting pastel green or pastel yellow on your eyes (I’m still a bit freaked out about the yellow). However, the colours are actually super soft – yet pigmented – and so easy to blend with other complimentary shades. Should you choose to accept the challenge.
Since I’ve been spamming you with neologisms all week, (Hello, Rhonda’s THOT of the Day aka follow me on Snapchat if you are lost already). It is time to coin another one. PRINCESS GOTH. I dunno, I felt like this makeup look is a bit edgy yet the pinks, purples and icing sugar highlights make it super saccharine. In a good way. Alright, let’s cut with the yapping and get to how to use the Kat Von D Pastel Goth palette to achieve this beauty look.
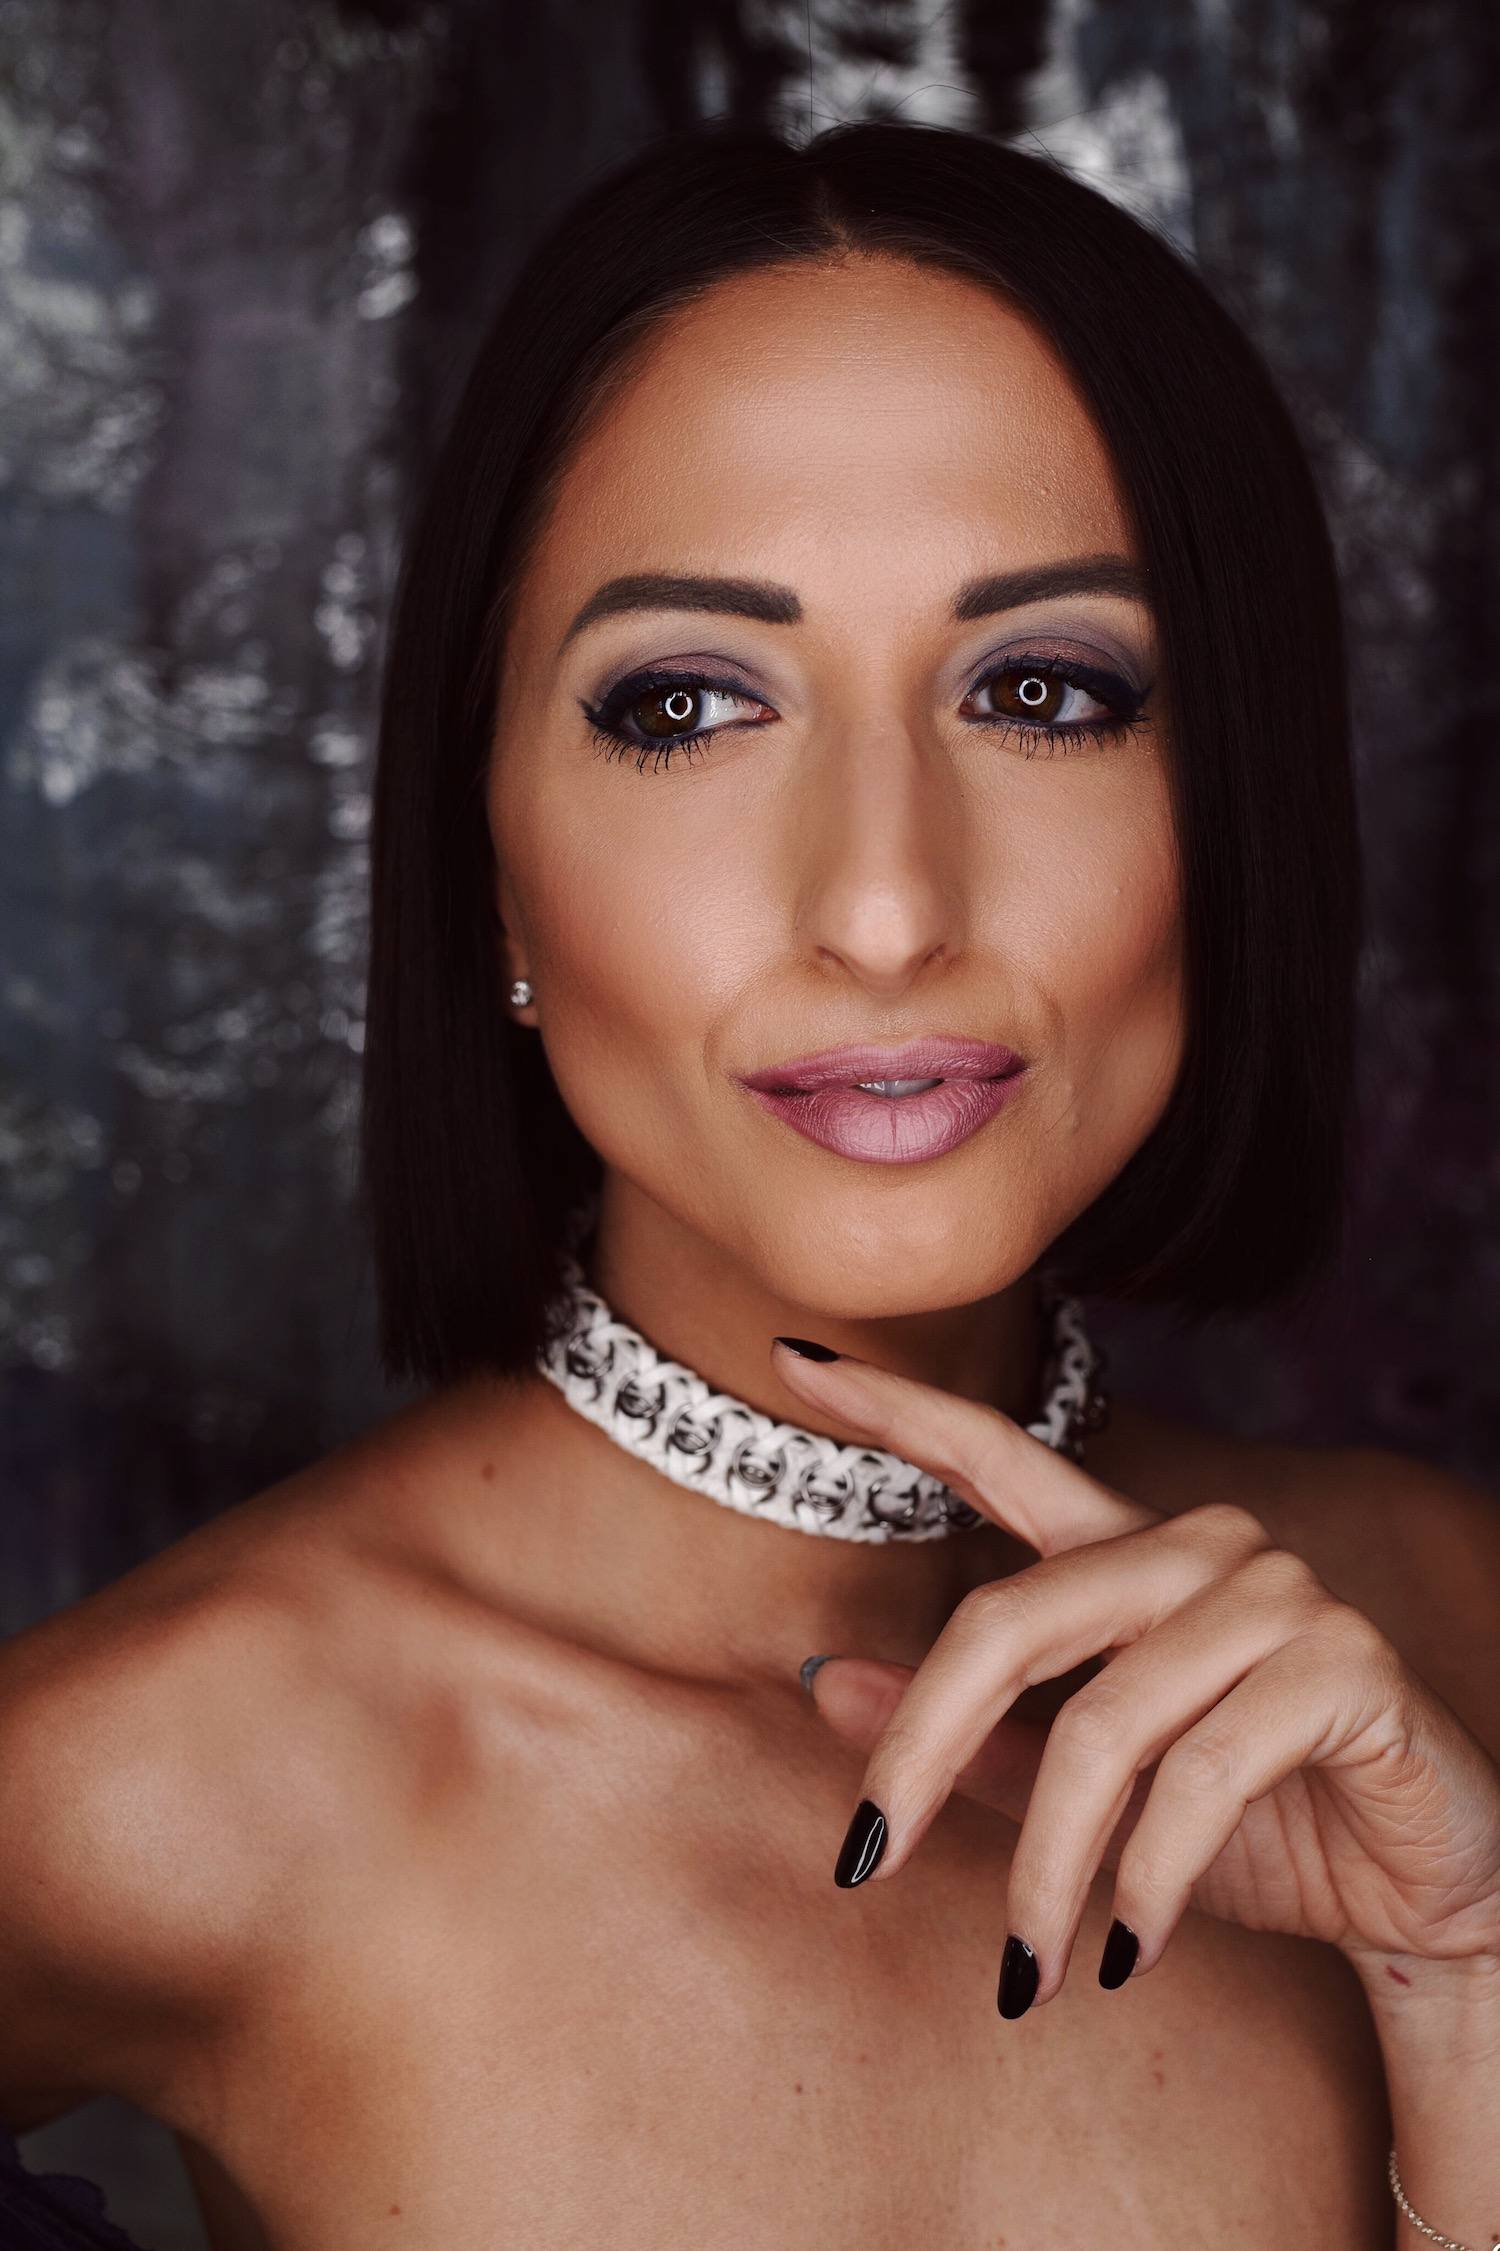
Kat Von D Pastel Goth Beauty Look
Step 1: Prep your face with moisturizer. I like to use Charlotte Tilbury magic cream ($125 CAD available at charlottetilbury.com). I literally cannot breathe without it. And make sure you apply a really moisturizing eye cream – this is crucial if you’re going to be baking your concealer. After about 10 minutes, I apply my primer. I’ve been loving the new Nars Radiance Primer ($45 CAD available at Sephora).
Step 2: Now, I use my Charlotte Tilbury Magic Foundation in Medium 7 ($50 CAD available at charlottetilbury.com). Ok, I know CT Makeup seems expensive, but it is worth every penny. I love it. I buy it even when I can’t get press samples. As for concealer, I use two. First, I use Guerlain’s Multi-Perfecting concealer in Medium ($55.14 CAD available at Nordstrom). I blend that in using a BeautyBlender ($28 CAD available at Sephora) and I’m a stickler for using the original versus any other brand. Next, I apply the new NARS soft matte complete concealer in Ginger ($37 CAD available at Sephora). Blend all that shit out.
Step 3: Shake, and bake. I used Ben Nye powder for this particular look. I’m going to be doing a full tutorial on how to bake but you can sort of see the steps here on my latest IG video. Leave a comment if you’d like me explain it fully to you!
Eyeshadow Instructions
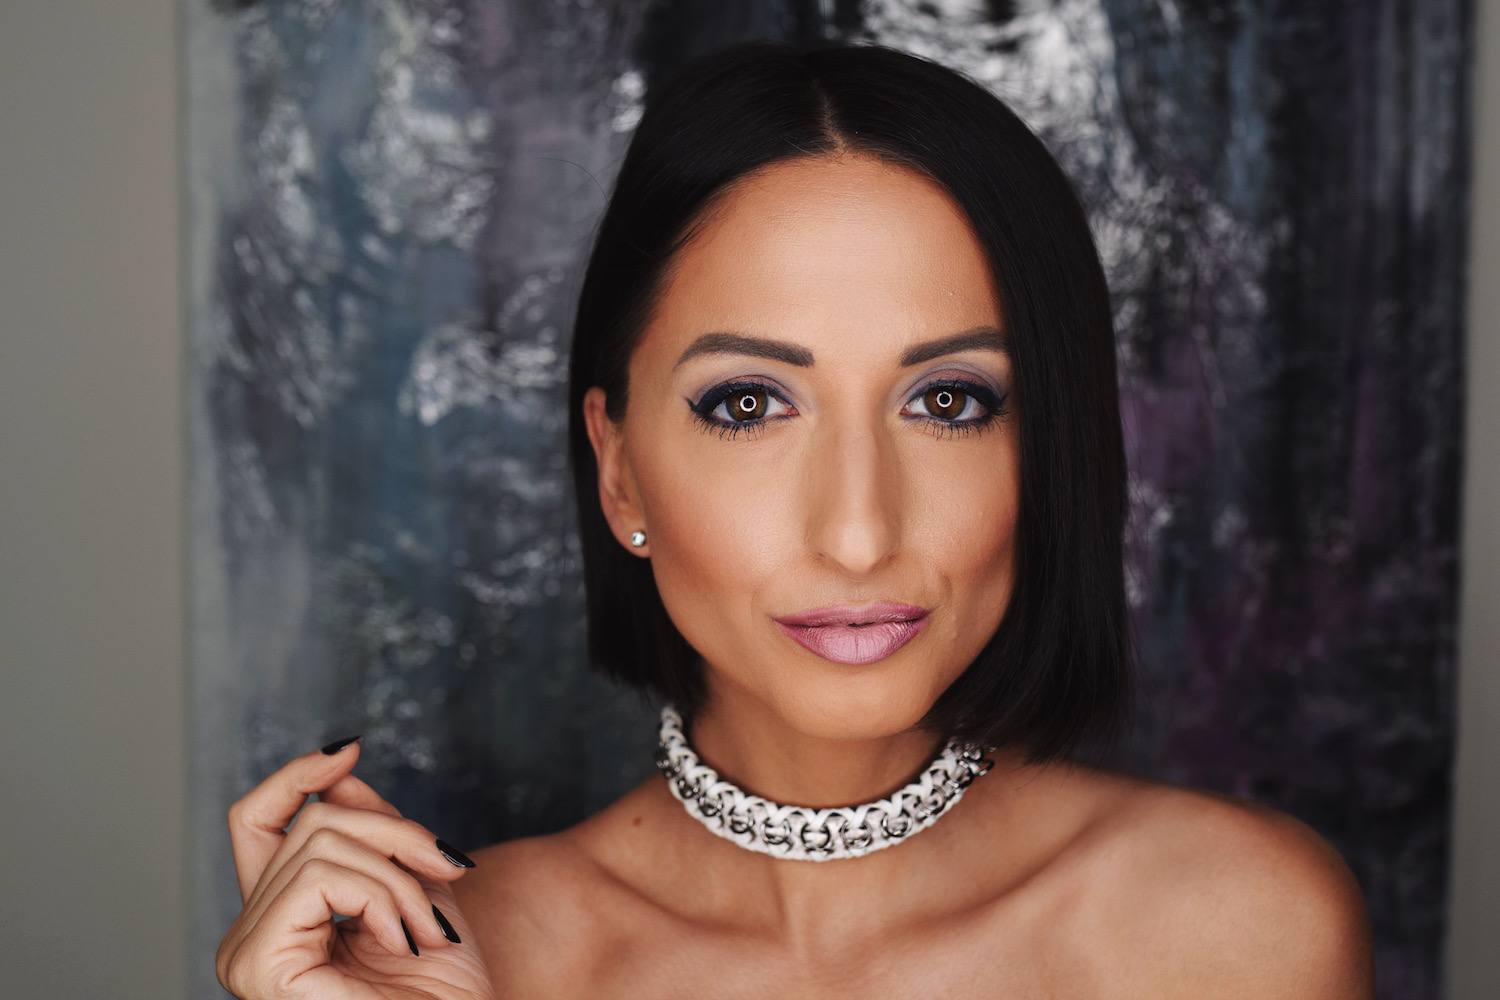
Step 4: While you bake, it’s a perfect time to do your eyes. I primed my lids using the Annabelle eyeshadow primer. Then I used the Kat Von D pastel goth palette dark purple, Dope, in the crease, using a fluffy eyeshadow brush to pull the colour up to just under the brow. (And as Vyvian To cautions, always leaving a space between the brow and the colour. Thanks, Vyv). Next, I used Kat Von D pastel goth in Meow on the lid (although, I might have used Meow first, then accented with Dope but you live and you learn). Next, I added a Pop of colour using a warm, sparkling rose shade from Charlotte Tilbury’s Legendary Muse palette right on the middle of the eyelid, close to the lash line. This will make your eyes sparkle.
Step 5: Attempt winged liner. Full stop. (I used NARS velvet eyeliner in Darklight $29 CAD available at Sephora). Yes, I used a pencil to do winged eyeliner. Come at me, bro.
Step 6: Ok, now you wipe off and buff your Banana Powder and contour your face. I used Anastasia Beverly Hills Contour Kit in Medium to Tan ($52 CAD available at Sephora) and my trusty Artis brushes. Fuck, I love those oval brushes. I feel like Michelangelo when I do my bronzer now. Finish with some blush by NYX cosmetics in Sweet Cheeks palette (I used the purple/pink shade) some highlighter, also by NYX. Lashes, curl em, and apply two coats of Too Faced Better Than Sex mascara ($30 CAD available at Sephora). And brows using NARS brow defining cream in Danakil ($29 CAD avails at Sephora).
OMG, Still Not Done
Step 7: Feels like step three thousand and twenty-two, but, that’s what it takes to look this good. I set the whole look using Kat Von D Lock ‘N Load Makeup Mist ($30 CAD available at Sephora). BOOM!
Step 8: Shittttt, I forgot about the lips lol. Ok, for the lips I used MAC Cosmetics lip liner in Burgundy to line the lip and then shade only the outer corners, about 2/3rds into the centre. Then in the centre, I applied Bare Minerals matte lipgloss in Smooch. Then I used my Artis lip brush to blend in the lighter gloss colour and the liner where they meet. (I like to apply a little dab of Beautycounter face oil on my lips to make sure they are nice and smooth before doing the colour).
We Need to Talk…
Do you guys like this look? Leave me a comment if you have any questions or thoughts. And don’t forget to subscribe to my new YouTube channel! I’ll be posting my life, my beauty tutorials, my travel diaries, and everything in between. I’m currently running an amazing giveaway to the first 500 subscribers so make sure you get in early to win stuff like a Gucci wallet, Kylie lip kits and much much more. Check Instagram for full details!
xoxo

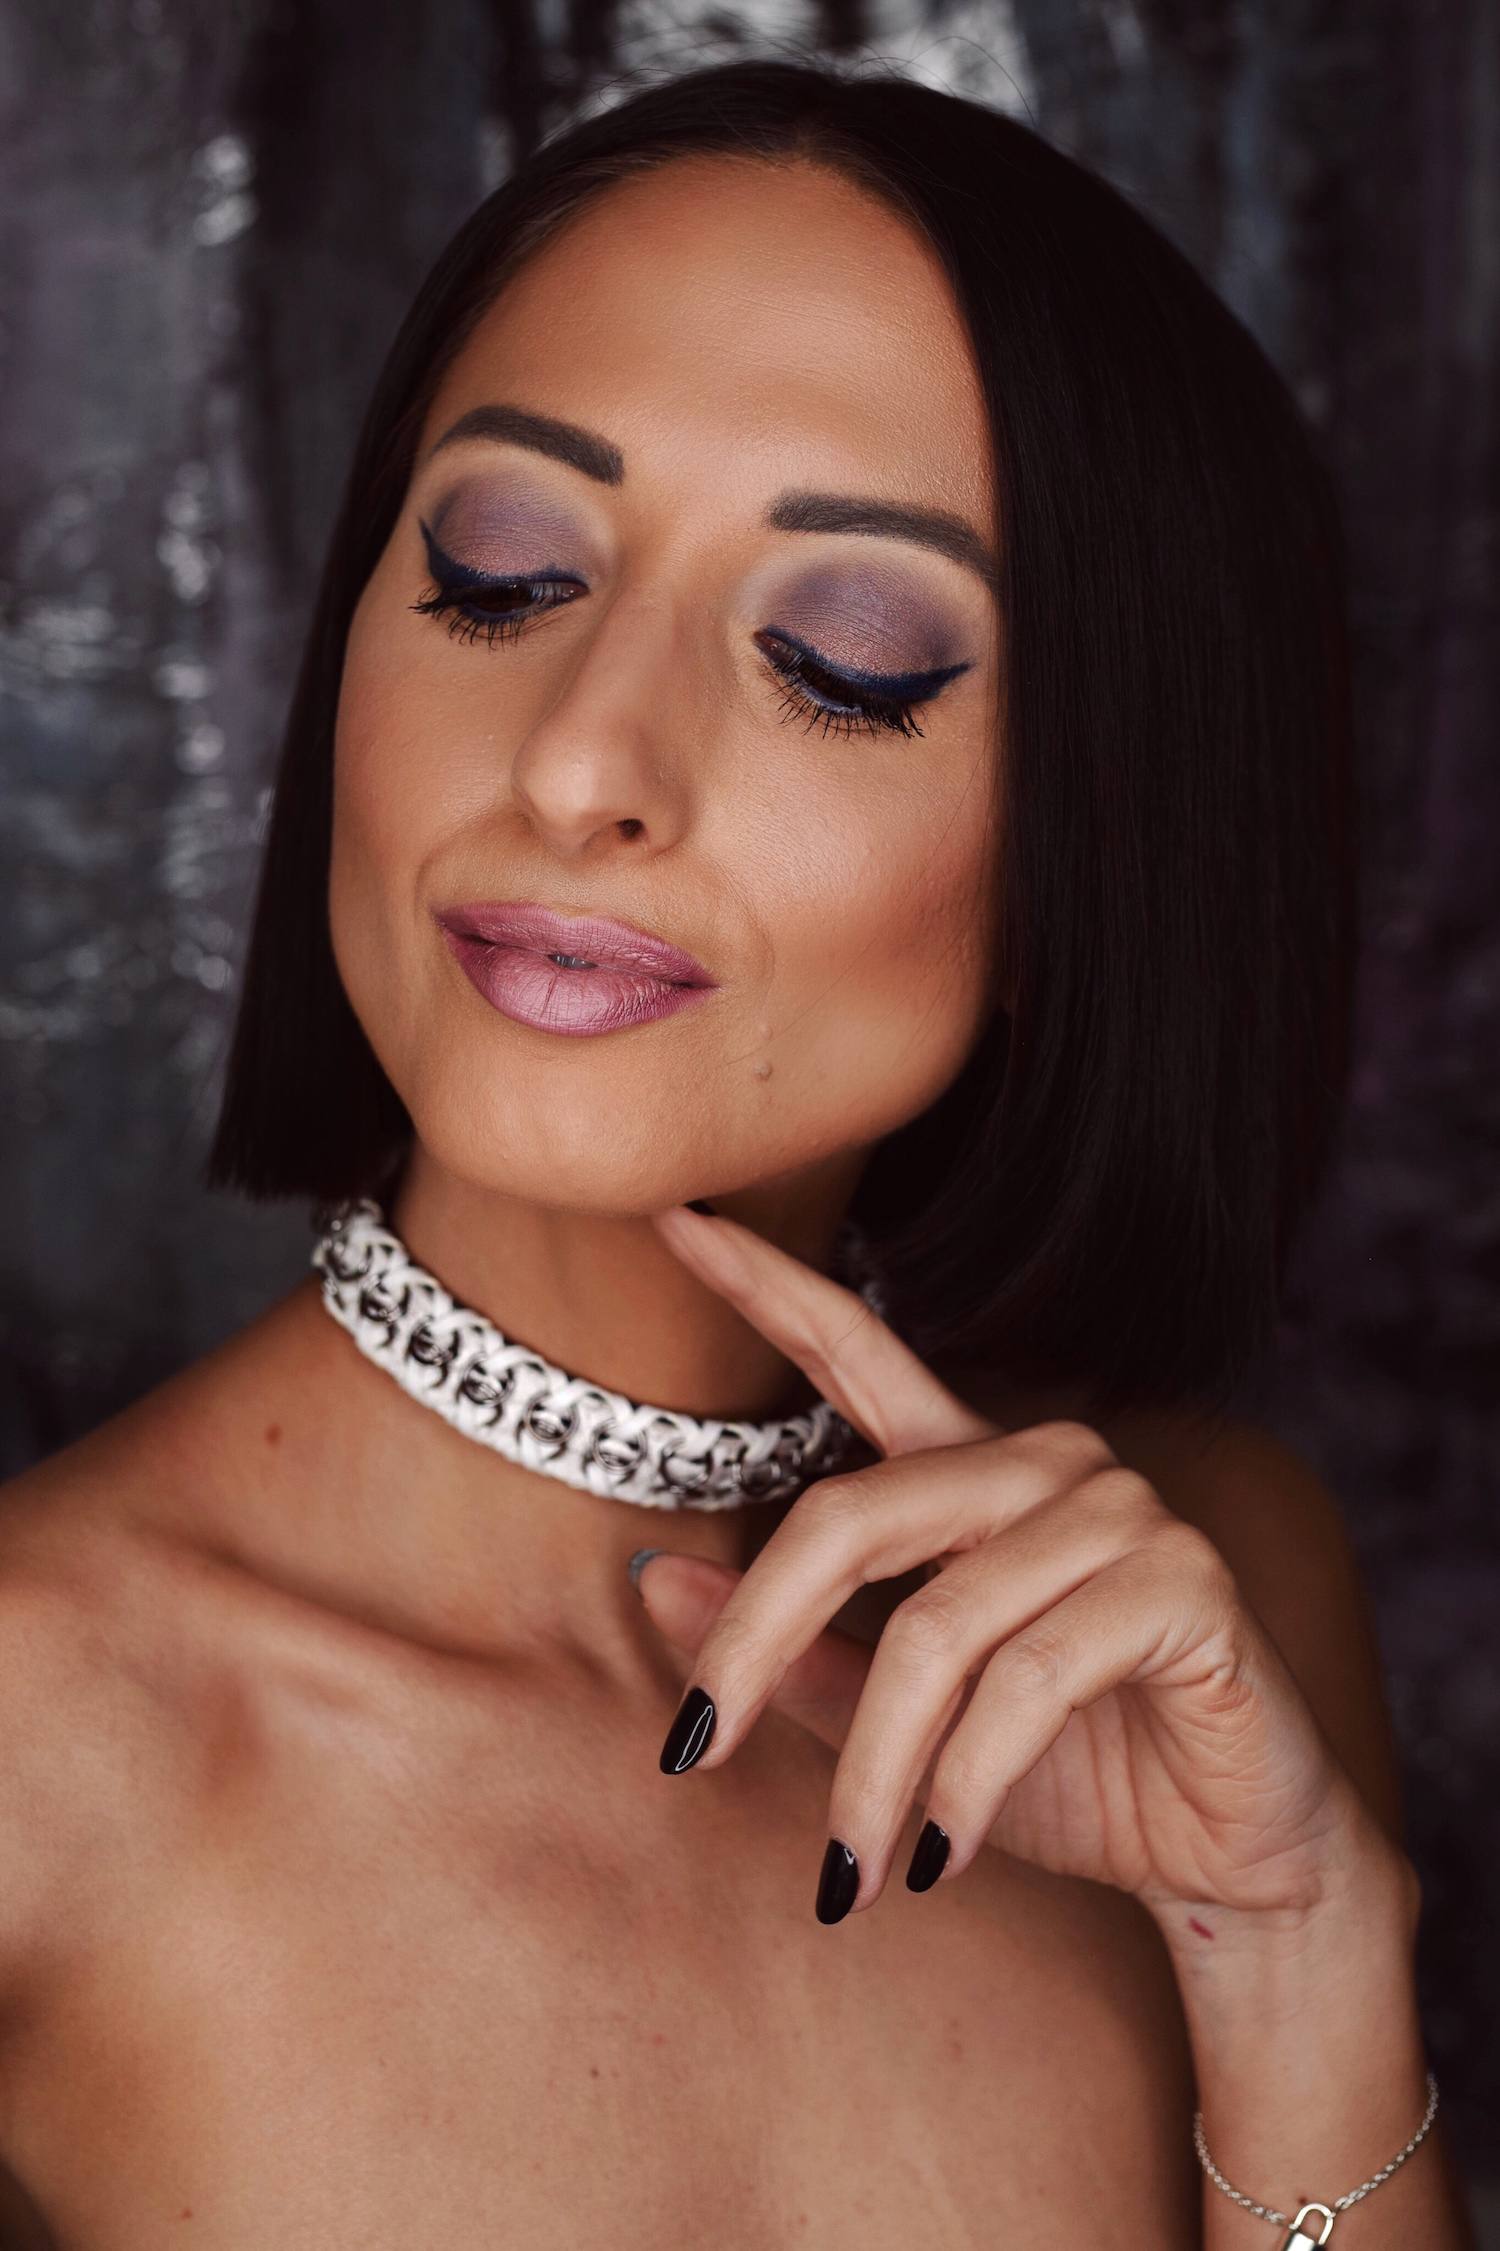
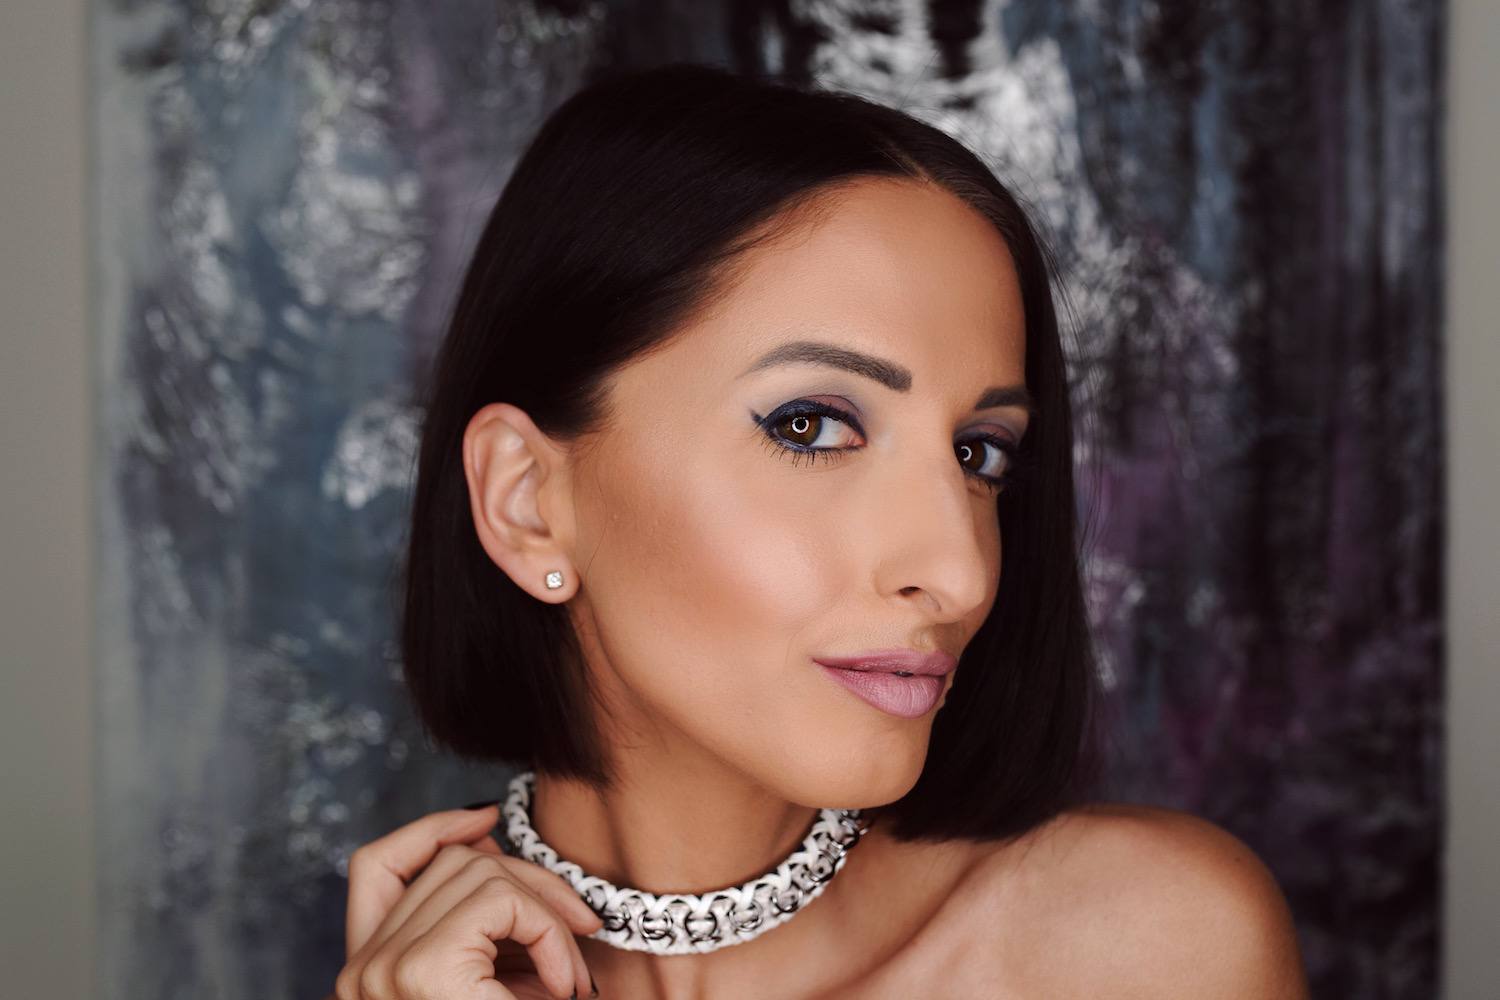
Photography by Vyvian To.
Choker available at Pascual Studio.


